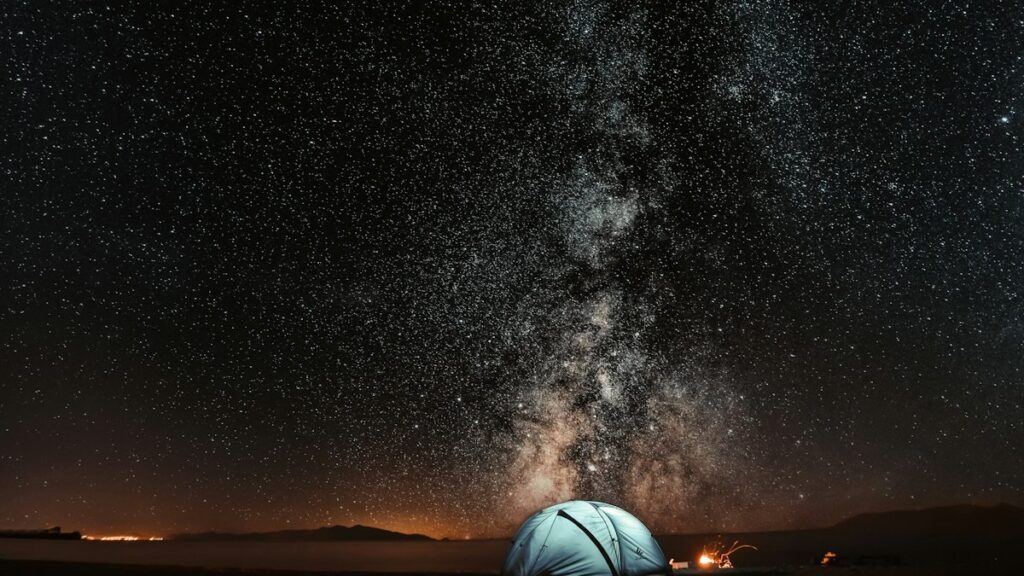
Completing the 44-mile Grand Canyon Rim-to-Rim-to-Rim traverse during late autumn requires strict adherence to night hiking camping safety, pre-routed GPS waypoints, and cold-weather wilderness preparation. The route plunges 4,700 feet from the South Rim to the canyon floor before climbing 5,700 feet up to the North Rim, only to reverse the entire course. Backpackers face sustained freezing temperatures at the rims, extreme temperature swings in the inner gorge, and dark trail conditions during 12-hour autumn nights. This guide details the navigation, gear, and hazard management required to complete the expedition safely.
Quick Trip Facts
- Managing Agency: National Park Service (Grand Canyon National Park)
- Difficulty Rating: Class 2 Strenuous Backcountry
- Total Distance: 44 miles (Round Trip)
- Elevation Gain / Loss: 11,000+ vertical feet elevation gain / 11,000+ vertical feet loss
- Primary Water Sources: South Kaibab Trailhead (spigot), Phantom Ranch (pipe water), Bright Angel Creek (filtering required), Manzanita Rest Area (seasonal pipe), Roaring Springs (seasonal), Havasupai Gardens (pipe water)
- Required Permits: Backcountry Permit required for all overnight stays inside the canyon. No permit required for day-hikes under 24 hours.
South Rim to the Colorado River via South Kaibab Trail
The expedition starts at the South Kaibab Trailhead (7,260 feet elevation). Descending the South Kaibab Trail to the canyon floor covers 7.1 miles with zero available water sources along the trail. Starting before dawn is standard procedure to avoid mid-day exposure on open ridges. Because pre-dawn descents mean trekking in absolute darkness along cliff edges with 1,000-foot drops, maintaining focus on foot placement is essential.
The upper section of South Kaibab contains steep switchbacks known as the Ooh Aah Point descent. Early in the morning, these wooden steps can hold black ice during late autumn and early spring. Microspikes or traction cleats are necessary until dropping below 6,000 feet. Footing consists of loose dirt over limestone and sandstone bedrock. Trekking poles reduce knee shear on the continuous 4,700-foot descent to the Colorado River bridge.
Key landmarks along this section include Cedar Ridge (mile 1.5), Skeleton Point (mile 3.0), and the Tipoff (mile 4.4). The Tipoff features a emergency phone and a vault toilet, but no drinking water. Below the Tipoff, the trail cuts through the Vishnu Basement rocks via steep rock steps and tunnels, terminating at the Black Suspension Bridge over the Colorado River. Crossing the 440-foot bridge brings hikers directly to Phantom Ranch and Bright Angel Campground.
The Inner Gorge to the North Rim via North Kaibab Trail
Leaving Phantom Ranch (2,480 feet elevation), the route follows the North Kaibab Trail for 14 miles upward to the North Rim (8,241 feet elevation). The initial 7 miles traverse the Box, a narrow granite canyon where Bright Angel Creek flows. In heat or cold, sound bounces heavily between these vertical walls. Hikers cross several aluminum bridges over Bright Angel Creek. Water is abundant in the creek, but suspended silt requires a pre-filter or settling period to avoid clogging hollow-fiber membrane filters.
After exiting the Box, the trail opens into a wider canyon floor approaching Cottonwood Campground (mile 7.2 from Phantom Ranch) and Manzanita Rest Area (mile 8.6). Manzanita serves as a primary gear check point. Past Manzanita, the incline steepens dramatically. The final 4.7 miles from Manzanita to the North Rim gain over 3,600 vertical feet across relentless switchbacks carved into sheer sandstone cliffs.
The Supai Tunnel (mile 12.0 from Phantom Ranch) offers a shaded rest point with seasonal water and toilets. Beyond Supai Tunnel, the trail experiences frequent rockfalls and snowdrifts in late autumn. The final mile below the North Rim trailhead features narrow ledges exposed to severe drop-offs. If completing this section after dusk, proper night hiking camping safety measures—such as setting headlamps to medium-wide beam rather than narrow spot—help preserve spatial orientation against vertical rock faces.
The Return Traverse: Bright Angel Trail Ascent
After reaching the North Rim trailhead, hikers reverse direction. On the return trip to the South Rim, taking the Bright Angel Trail from Phantom Ranch provides a safer, more reliable ascent than returning up South Kaibab. The Bright Angel route adds 2.4 miles (totaling 9.5 miles from the river to the South Rim) but offers intermittent water stations, shade options, and lower slope gradients.
Crossing the Silver Bridge over the Colorado River brings you to the River Resthouse (mile 0). From here, the trail follows Pipe Creek into the Devil’s Corkscrew, a series of tight switchbacks over exposed schist that traps ambient heat. Pacing is critical through this canyon sector. After climbing through the Corkscrew, the trail levels out slightly across the Tonto Platform before arriving at Havasupai Gardens (formerly Indian Garden) at mile 4.7.
Havasupai Gardens offers shade, year-round water, and a ranger station. The remaining 4.5 miles climb 3,000 vertical feet through the Bright Angel Fault via two key rest stops: 3-Mile Resthouse and 1.5-Mile Resthouse. Both rest areas feature seasonal water spigots and shade structures. The final climb through the Coconino sandstone switchbacks is heavily trafficked and often icy near the top rim during shoulder seasons.
Route Logistics and Night Hiking Camping Safety Protocols
Executing a 44-mile rim-to-rim-to-rim push requires precise logistics, emergency planning, and rigorous night hiking camping safety protocols. The canyon environment isolates hikers quickly, as cell service disappears completely within 10 minutes of leaving either rim.
Wildlife Mitigation
The Grand Canyon contains diverse wildlife that remains active after sunset. High-density animal areas exist around Cottonwood Campground, Phantom Ranch, and Havasupai Gardens. Ring-tailed cats, squirrels, and mice will chew through nylon tents, backpacks, and dry bags to reach food. All food, trash, and scented items (sunscreen, lip balm, toothpaste) must be stored inside hard-sided wire mesh scent sacks (Ratsacks) or hung on designated camp hooks.
Rattlesnakes—specifically the endemic Grand Canyon Pink Rattlesnake—frequently lay on warm trail stones after dark. Maintaining high spatial awareness and using a wide-beam headlamp prevents accidental foot strike on venomous snakes during night segments. Larger wildlife includes mule deer and mountain lions; if encountering a mountain lion, hold your ground, make yourself physically large, and never run.
Emergency Exit Routes and Satellite SOS
Self-rescue is difficult inside the canyon. There are no roads entering the inner gorge; evacuation occurs on foot, via mule team, or by helicopter when weather permits. The primary emergency exit points are:
- South Rim Access: South Kaibab Trail or Bright Angel Trail. Emergency landlines are located at the Tipoff, Havasupai Gardens, 3-Mile Resthouse, and 1.5-Mile Resthouse.
- North Rim Access: North Kaibab Trail. Emergency phones are installed at Roaring Springs, Manzanita Rest Area, and Supai Tunnel.
A standalone satellite communicator (such as a Garmin inReach or ZOLEO) is required equipment. Do not rely on mobile phones. Topographic maps on satellite units must be pre-downloaded before leaving the rim. Establish strict check-in schedules with home contacts before starting the descent.
Recommended Expedition Equipment
We compared manufacturer specs, owner reviews and published data to select equipment capable of handling extreme temperature variances (ranging from 20°F at the rims to 85°F at the canyon floor) and harsh desert conditions.
1. Primary Illumination: Black Diamond Storm 500-R Headlamp
Night travel down steep canyon switchbacks demands dependable lighting. The Black Diamond Storm 500-R features a maximum output of 500 lumens, an IP67 dust/waterproof rating, and a rechargeable 2400 mAh Li-ion battery. The optical lens delivers dual-beam lighting that illuminates immediate foot placements while throwing long-range beams down the trail.
Weaknesses:
- The micro-USB charging port cover can tear off after repeated use, compromising waterproof sealing.
- The secondary tap-to-dim sensor interface is difficult to operate while wearing heavy winter gloves.
Better Alternative: The Petzl Swift RL offers a simpler single-button interface and reactive lighting technology that automatically adjusts brightness, saving battery power during extended night hiking camping safety operations.
2. Satellite Communication: Garmin inReach Mini 2
The Garmin inReach Mini 2 weighs 3.5 ounces and connects to the Iridium satellite network for global two-way messaging, location tracking, and interactive SOS signaling. Its TracBack routing feature allows navigation back to the starting point if you lose the trail in dark conditions.
Weaknesses:
- Requires an active, paid monthly subscription plan to send messages or trigger SOS features.
- Standalone text input on the device is slow and cumbersome without pairing to a smartphone app.
Better Alternative: The ACR Bivy Stick offers lower monthly subscription costs and flexible month-to-month plans for seasonal backpackers who do not need year-round satellite service.
3. Water Filtration: Katadyn BeFree 1.0L System
Hydration is critical inside the canyon. The Katadyn BeFree utilizes a 0.1-micron hollow-fiber membrane filter paired with a collapsible TPU flask. It filters water at up to 2 liters per minute, removing bacteria, cysts, and sediment from natural sources like Bright Angel Creek.
Weaknesses:
- The soft TPU flask can puncture if squeezed too hard against sharp canyon granite.
- High levels of suspended silt in the Colorado River will quickly clog the membrane unless water is pre-filtered through a bandana or allowed to settle in a container.
Better Alternative: The Sawyer Squeeze micro-filter connects directly to standard threaded plastic water bottles, offering superior durability against abrasive sandstone and heavy water pressure.
Field-Tested Night Hiking & Canyon Expedition Essentials:
- High-Lumen Night Trail Lighting: Pack a reliable backup beam — Check WUBEN Tactical Flashlights (see our WUBEN Flashlight Review).
- Ultralight Camp Lighting & Pumps: Cut pack weight with FLEXTAIL Ultralight Camp Gear.
- High-Altitude & Canyon Recovery: Stay ahead of dehydration with Hydro-Health Cellular Hydration.
- Basecamp Staging Near the Rim: Book guaranteed RV & tent sites via Campspot Instant Booking or scan cancellations with Campnab.
Official Trail Permits & Conditions: Always check water station status and backcountry permits on the NPS Grand Canyon Backcountry Guide. Also see our Zion National Park & Free BLM Camping Guide.
Related Camper Conner Field Guides & Official Resources:
Frequently Asked Questions
What is the best time of year to complete a Rim-to-Rim-to-Rim expedition?
Late autumn (October through mid-November) and spring (late April through May) offer the safest weather conditions. Summer temperatures at the canyon floor regularly exceed 110°F, creating extreme risk of heat illness. Winter brings heavy snow and ice to both rims, requiring winter mountaineering equipment and closing the North Rim access road from December through mid-May.
Do I need a permit for a 24-hour Rim-to-Rim-to-Rim push?
No permit is required for single-day hikes under 24 hours that do not involve overnight camping. However, overnight camping anywhere inside Grand Canyon National Park requires a Wilderness Camping Permit issued by the Backcountry Information Center. Always practice night hiking camping safety protocols regardless of whether your trip is planned as a single-day push or a multi-day backpack.
How much water should I carry between canyon stations?
Carry a minimum capacity of 3 to 4 liters per person. Pipeline breaks occur frequently inside the canyon, which can shut off drinking spigots at rest stations without warning. Always treat water collected from creeks or rivers using a micro-filter or purification tablets.
How do I manage illumination during overnight backcountry traverses?
To maximize night hiking camping safety, carry two separate light sources (a primary headlamp and a light backup flashlamp) plus a high-capacity power bank. Keep extra headlamp batteries or charging cables stored in an accessible pocket close to your body to prevent cold weather from draining battery voltage during night hikes.